

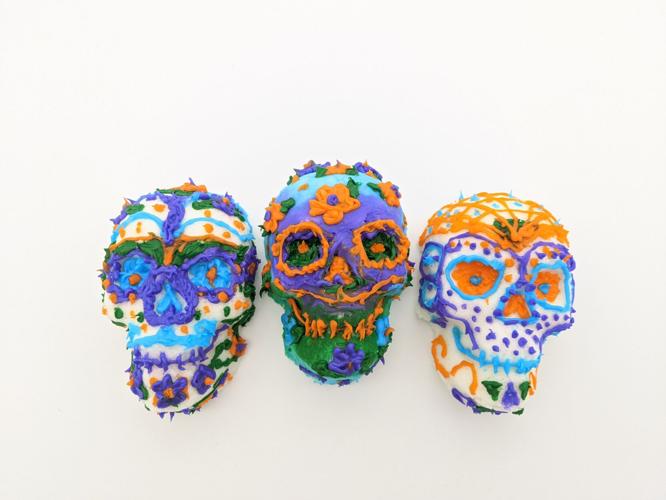


One of the more recognized symbols associated with Dia de los Muertos (Day of the Dead) celebrations are the calavera de azúcar (sugar skulls) that decorate ceremonial ofrenda (altars) and tombstones during the festivities.

The sugar skulls, which come in a variety of sizes, are decorated in shapes, lines and flowers made from vibrantly colored icing. Skulls placed on ofrendas or tombstones often have the names of loved ones written on the foreheads. "They represent death and the sweetness of life," according to "The Meaning of the Altar," by the Smithsonian Latino Center.
Skulls being used as symbols to honor the dead date back the Aztecs and other Nahua people living in what is now central Mexico, in pre-Columbian Mesoamerica, according to History.com.
"The Aztecs and Nahua … held a cyclical view of the universe, and saw death as an integral, ever-present part of life. Upon dying, a person was believed to travel to Chicunamictlán, the Land of the Dead," the History Channel's website states.
Laura Cabrera, a member of the Mahaiwe Performing Arts Center's Spanish-language Community Advisory Network, whose family is from Oaxaca and Veracruz, Mexico, says that the skulls and skeletons used in the traditions of Día de los Muertos are not scary to children, but part of the big celebration of loved ones who are no longer with us.
"I remember that it is a reflection of our destiny; on how it is one the we all share," she said, adding she remembers putting the names of her family members on the small skulls.
HONOR YOUR RELATIVES
The calavera de azúcar is a wonderful way to honor your deceased loved ones and to create beautiful pieces of art. During the weeks preceding Día de los Muertos festivities, molds and sugar skull kits are available for purchase through many larger retailers and craft stores. But, you can make your own at home with sugar, meringue powder and water. Most recently, I made my own calavera de azúca using a skull cake pan that I use to make skulzones and a smaller mold that came as part of a sugar skull kit I found at Target. The process was easy, once I had the correct ratio of sugar, meringue powder and water, but patience is required when it comes to drying the skulls. If picked up too early, you'll end up with a broken crumbly mess.
Sugar skulls are decorated with sugar flowers, designs and have, sometimes, the name of the loved one written on the forehead. They represent death and the sweetness of life.
CALAVERA DE AZÚCAR
(Recipe from tablespoon.com)
Makes 4 medium 3D skulls (more if using smaller molds).
INGREDIENTS
For skulls:
6 cups granulated sugar
1/4 cup meringue powder
1/3 cup water
Royal icing:
1 pound powdered sugar
7 1/2 teaspoons meringue powder
6 teaspoons water
food coloring
DIRECTIONS
For skulls:
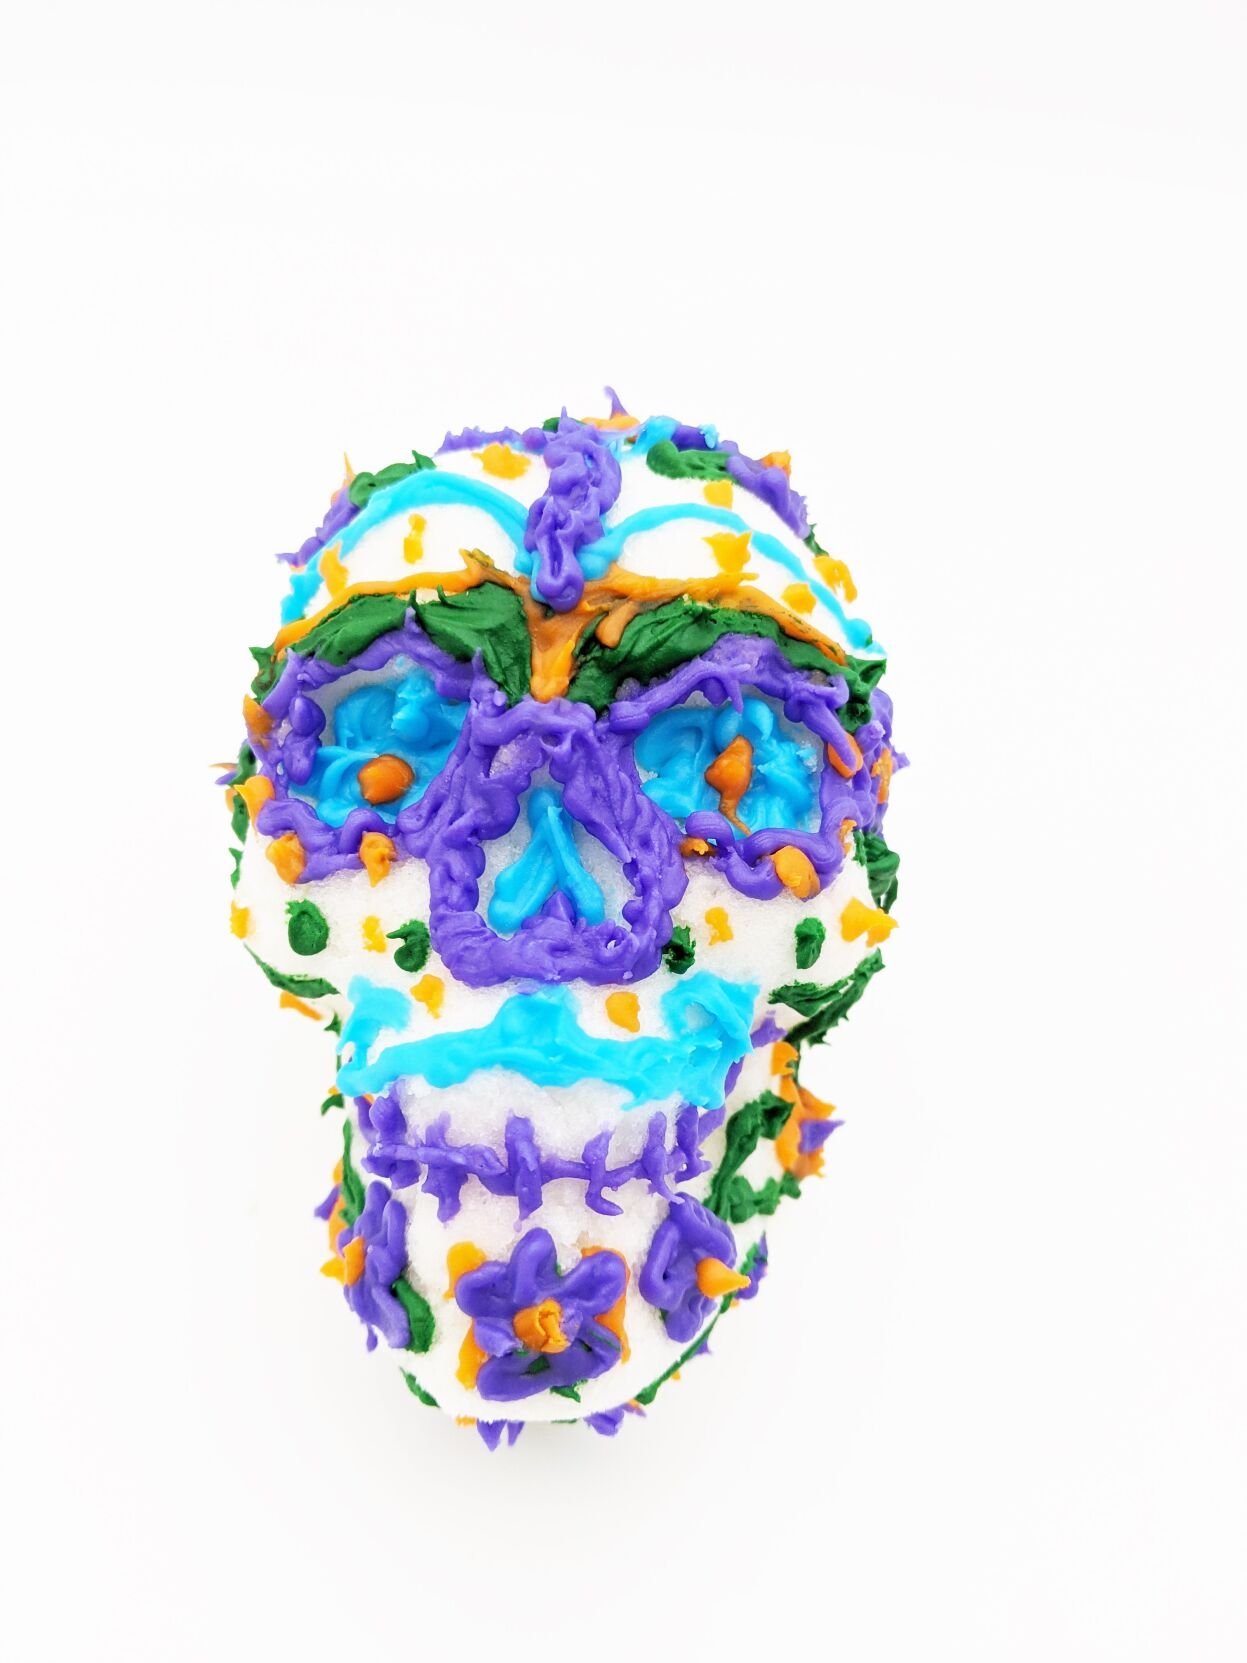
Sugar skulls represent death and the sweetness of life.
Mix the sugar, meringue powder and water together until all the granules of sugar are wet. Pick up a handful of the mixture and squeeze in your hand. If it holds together, its ready. If it falls apart, it will need a tiny bit more water.
Fill your skull mold with the wet sugar, pressing down on the sugar, compacting it as you go. Fill both the front and back skull cavities with the sugar. Scrape off the excess sugar.
Cut a piece of parchment paper and a piece of cardboard just a bit bigger than your mold. Set the parchment paper down on top of the mold. Set the cardboard on top of the paper. Grab onto the mold and cardboard, and carefully flip the whole thing upside down. Set it on the counter, then carefully lift the mold up off the sugar skulls. The mold should pop right off.
Note: If the sugar sticks, it's too wet. Scrape it out of the mold, clean the mold, and add some more dry sugar to the mixture and try molding it again. If your sugar skulls do not hold together, the mixtures needs more water.
Your sugar skulls now need to dry. Midway through the drying cycle you need to carefully flip them over so the back sides can dry out at well. They should be ready to decorate in 12 to 24 hours.

Royal icing:
Make royal icing. Beat together powdered sugar, meringue powder, and water until its shiny and will hold stiff peaks.
Once your skulls are dried, spread a thin layer of royal icing on the flat part of the back side of each skull. Press the front and back sides together. Use your finger to wipe off the icing that oozes out from in between the two pieces. Allow the skulls to dry for at least an hour.
Decorating:
After your skulls are dry, they are ready to decorate. Color small bowls full of royal icing using food coloring. If you wont be using the icing right away, be sure to cover each bowl with plastic wrap.
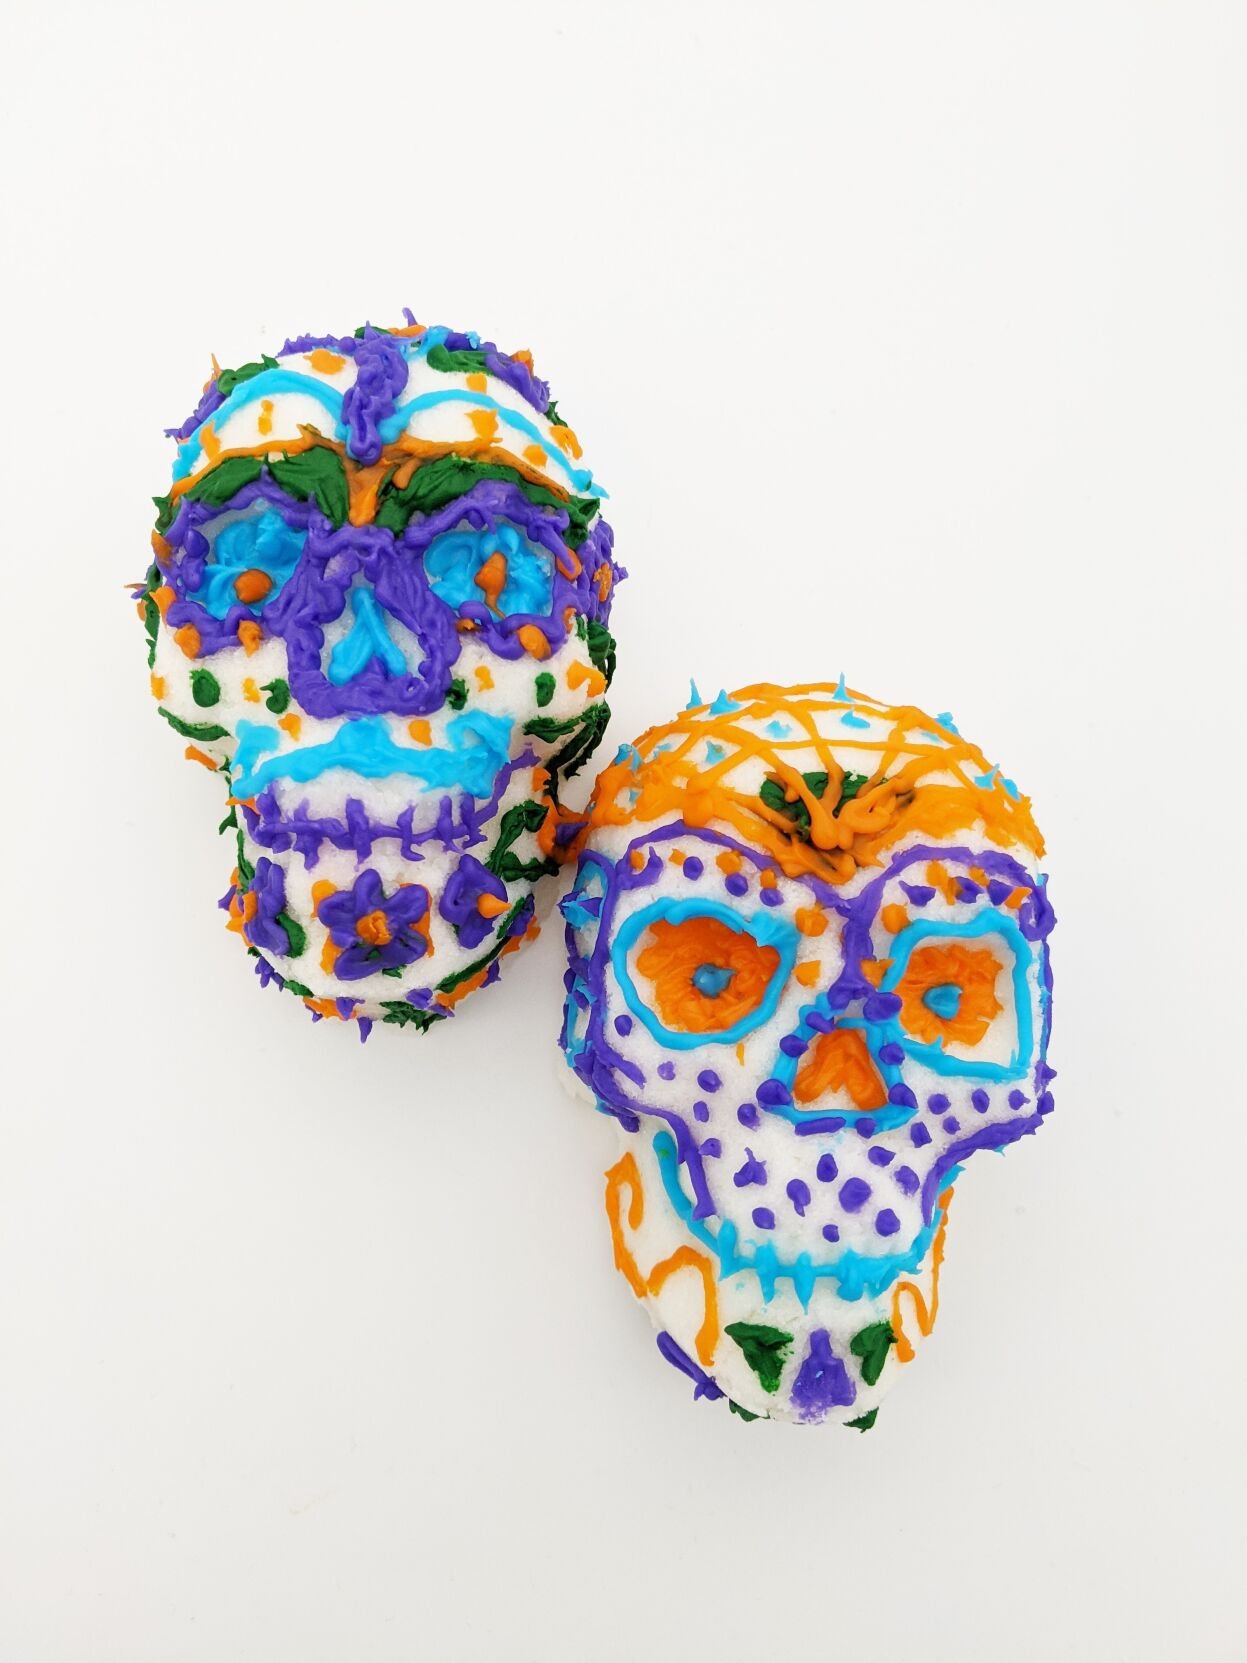
Pipe royal icing onto the skulls. Any simple or elaborate designs. Get as creative as you like and use lots of bright colors on each skull for a dramatic appearance.
Allow your sugar skulls to dry for several hours after decorating.