¡Saludos Comunidad Creativa! | ¡Greetings Creative Community!
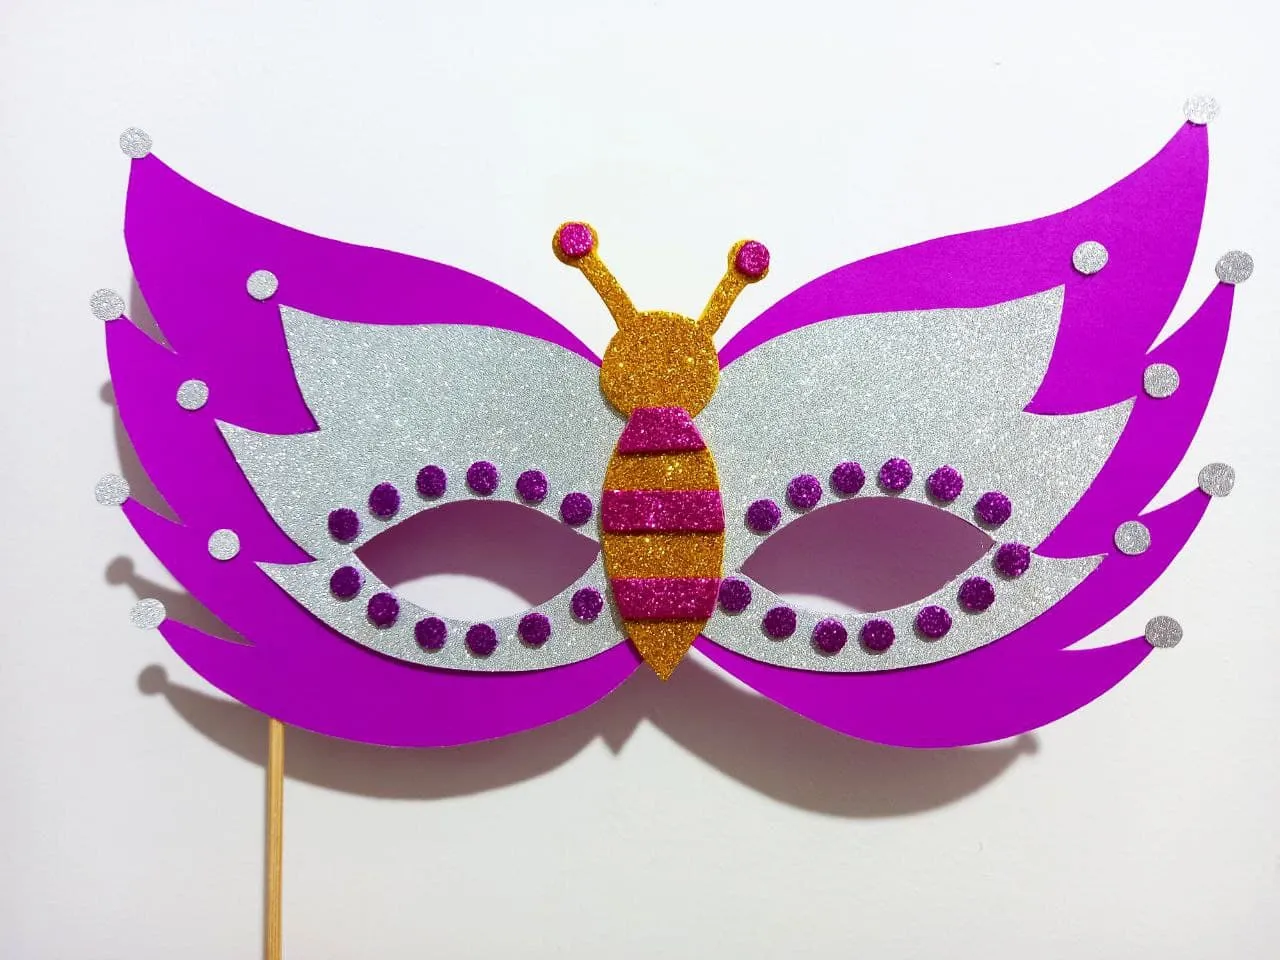
Este lunes y martes se celebró carnaval y aunque ya esta festividad pasó hoy quiero compartir con ustedes este tutorial en el cual elaboré un lindo y llamativo antifaz de carnaval en forma de mariposa, muy colorido y brillante ideal para estos días de celebración, espero que les guste y ahora si les dejo el paso a paso.
Carnival was celebrated this Monday and Tuesday and although this festivity has already passed today I want to share with you this tutorial in which I made a beautiful and striking carnival mask in the shape of a butterfly, very colorful and bright, ideal for these days of celebration, I hope you like it. like it and now if I leave you the step by step.

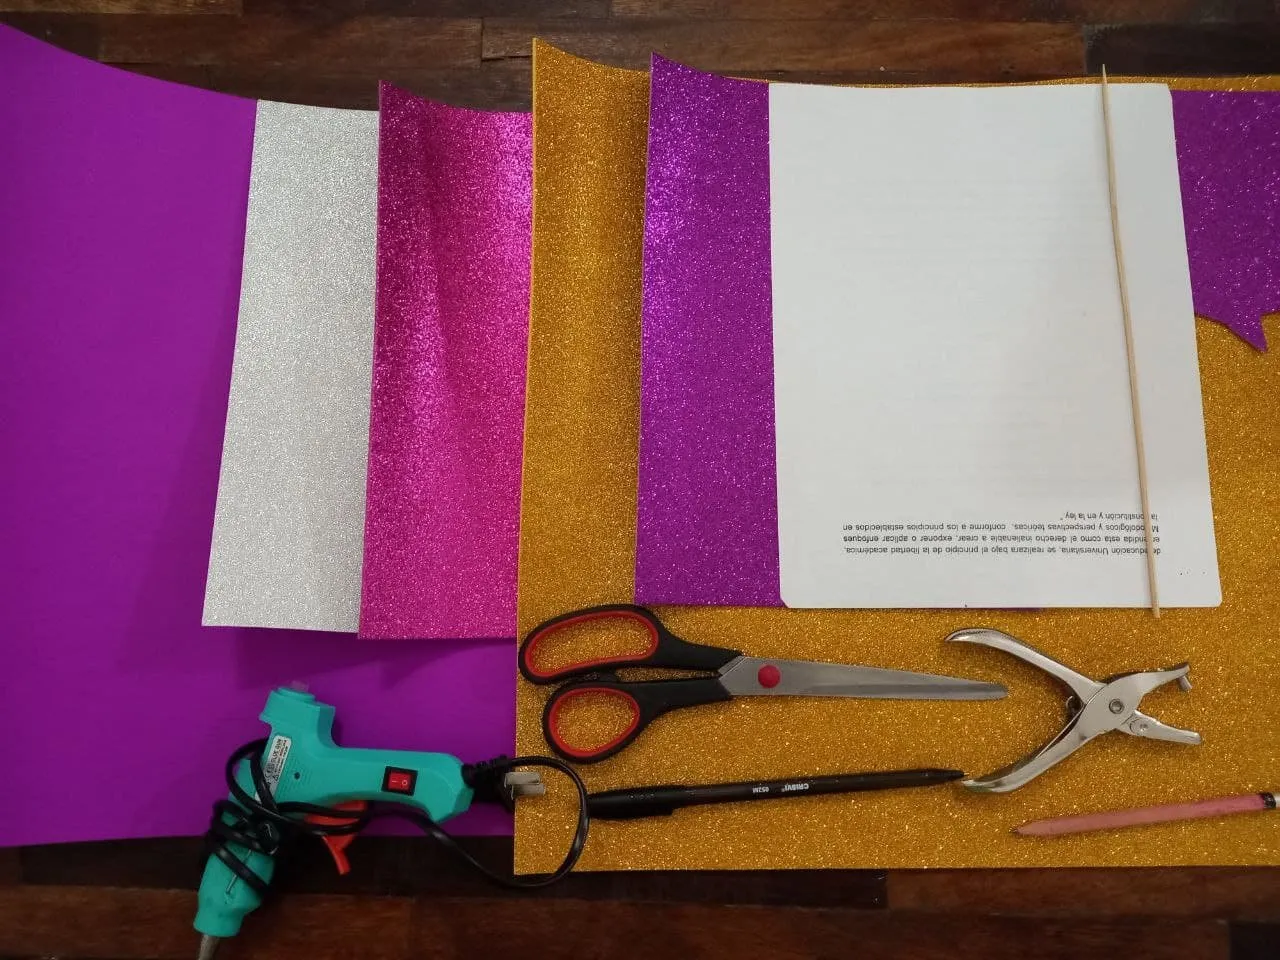
Materiales | Materials
◆ Cartulina escolar morada.
◆ Cartulina escarchada plateada.
◆ Foami escarchado morado, rosado y dorado.
◆ Hoja de papel.
◆ Palito de altura.
◆ Lápiz.
◆ Tijera.
◆ Abre huecos.
◆ Silicón caliente.
◆ Purple school cardboard.
◆ Silver Frosted Cardstock.
◆ Purple, pink and gold frosted foami.
◆ Sheet of paper.
◆ Height stick.
◆ Pencil.
◆ Scissors.
◆ Opens holes.
◆ Hot silicone.
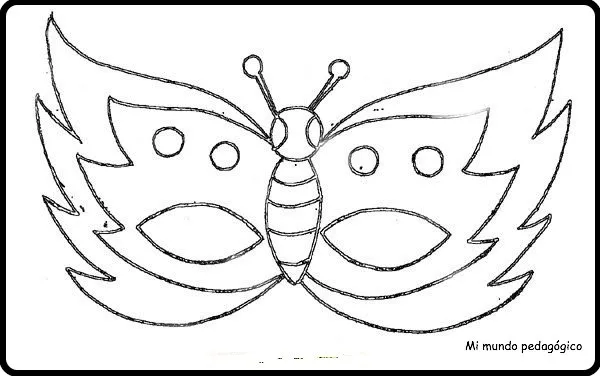
Molde necesario | Necessary mold
Procedimiento ✂ | Process ✂
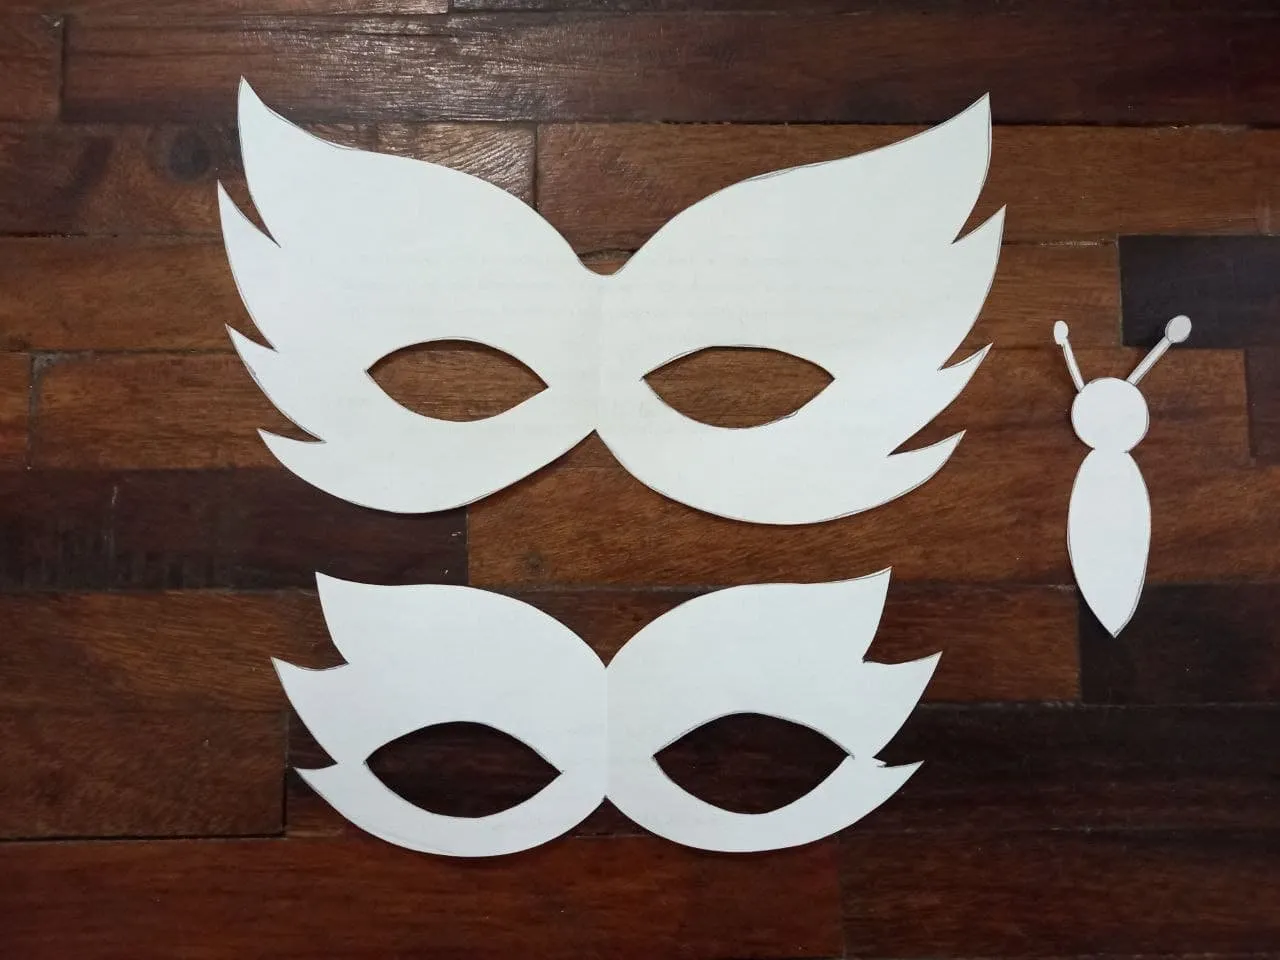
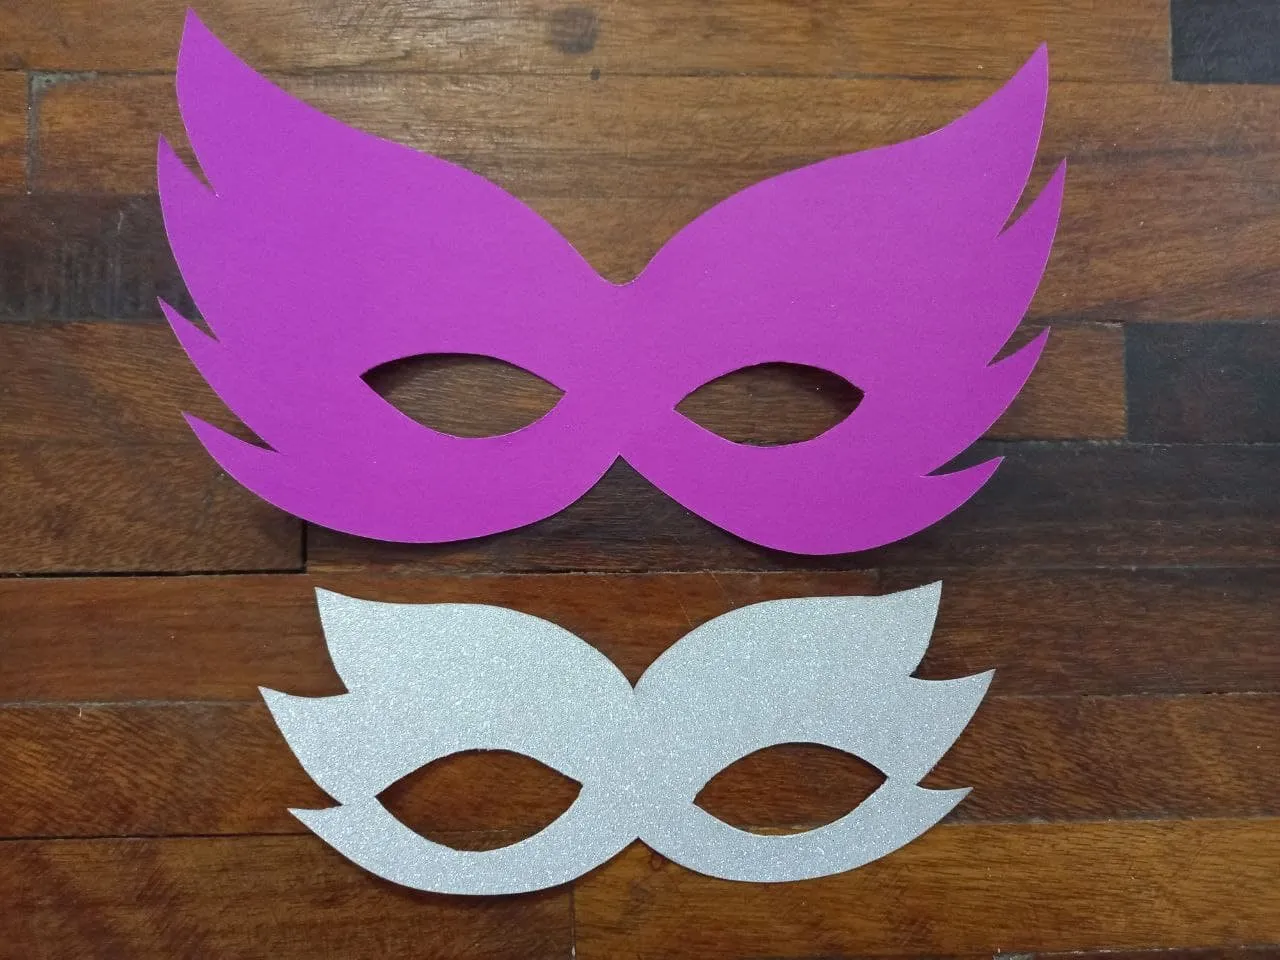
🦋 PASO 1. Para comenzar debemos hacer en la hoja de papel la forma del antifaz del molde anterior, como notarán son 2 piezas, una grande y una pequeña, además también haremos la forma del cuerpo de la mariposa, luego pasamos la pieza grande a la cartulina morada, la pequeña a la cartulina escarchada plateada y recortamos.
🦋 STEP 1. To begin we must make the shape of the mask from the previous mold on the sheet of paper, as you will notice there are 2 pieces, one large and one small, we will also make the shape of the body of the butterfly, then we the large piece to the purple cardboard, the small one to the silver frosted cardboard and cut out.
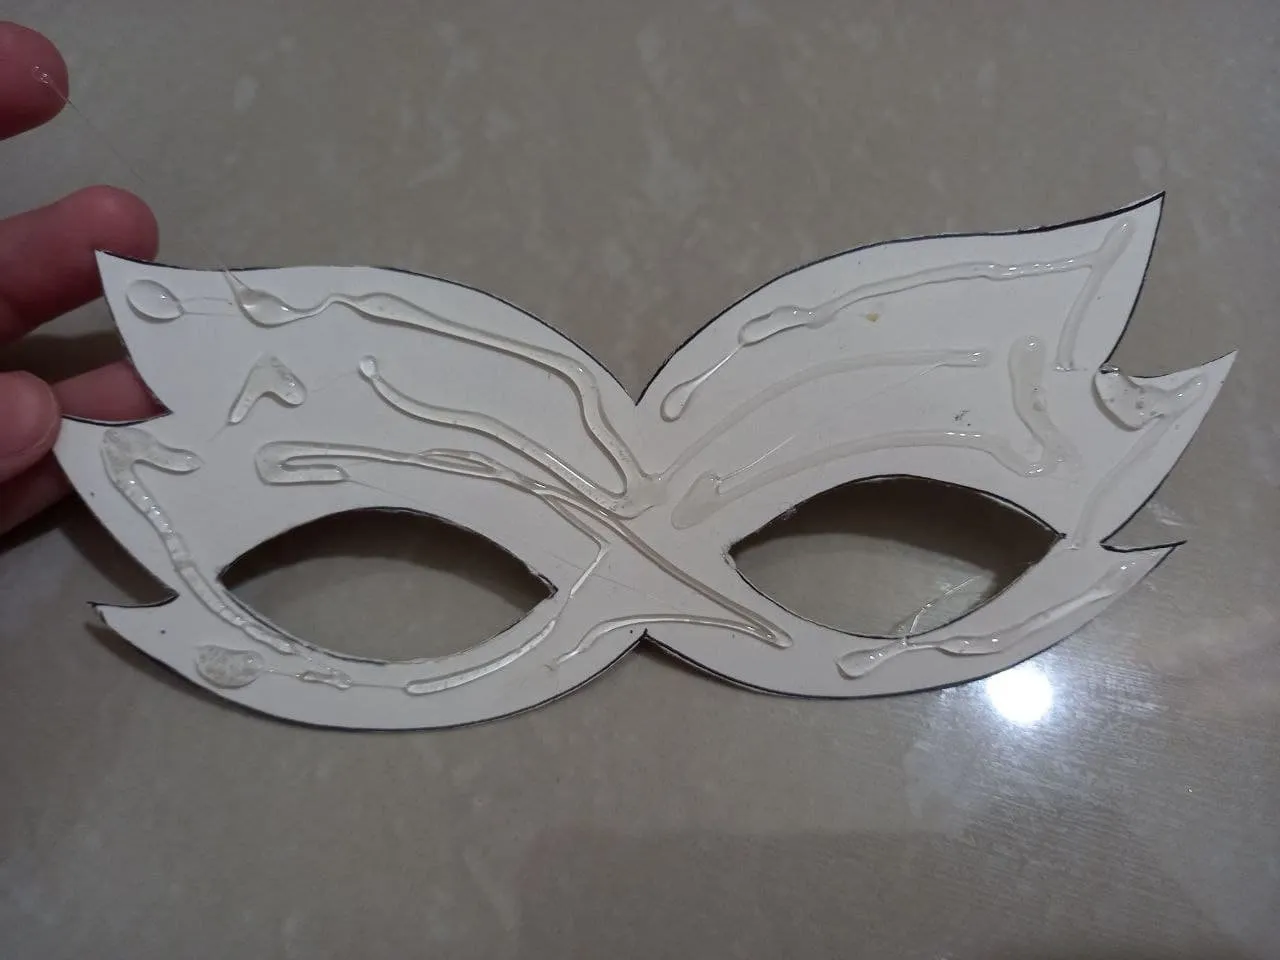
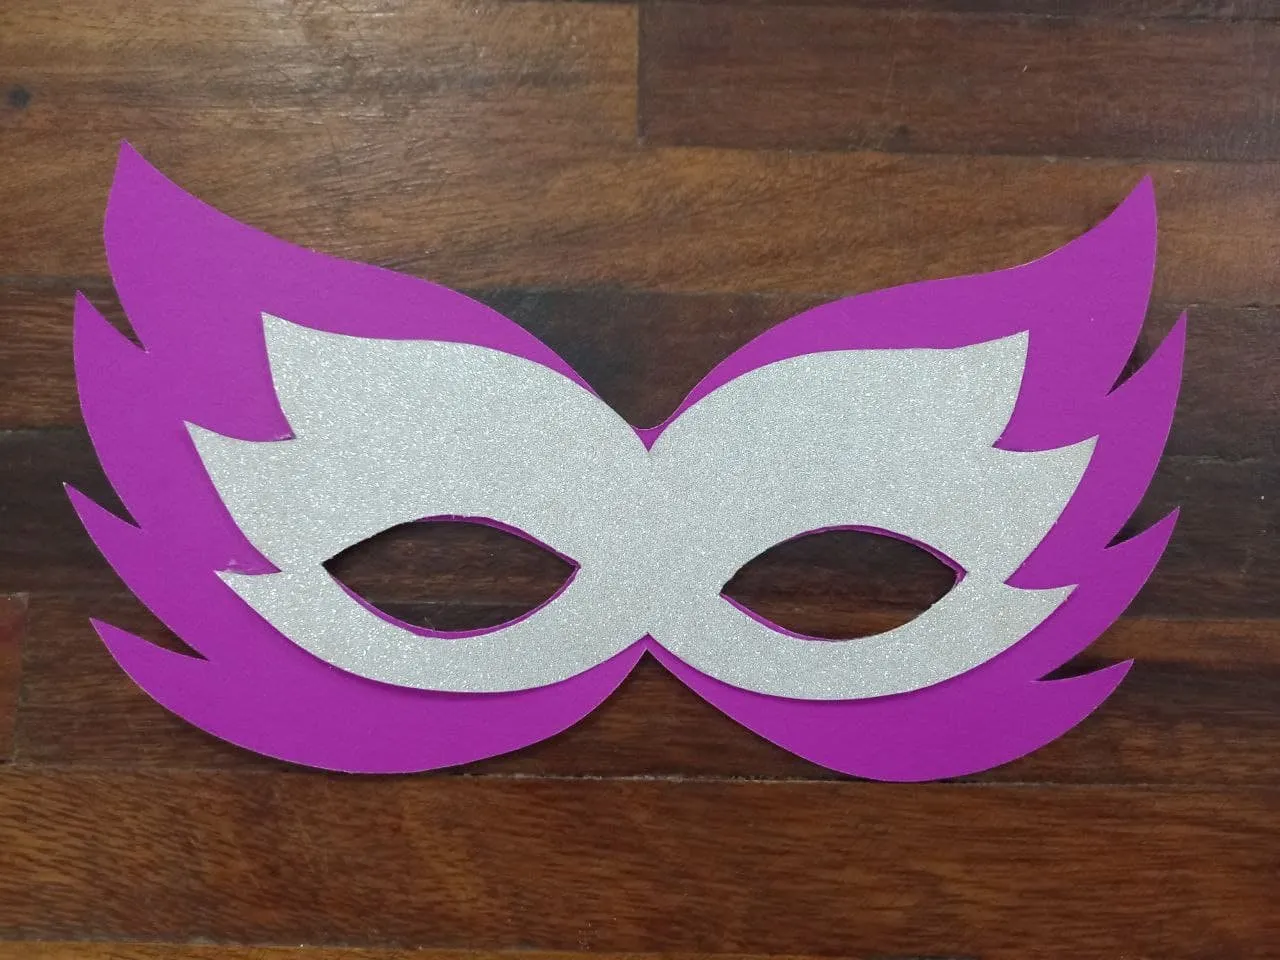
🦋 PASO 2. Aplicamos silicon en la parte trasera de la pieza pequeña del antifaz, es decir, la de cartulina escarchada plateada y la pegamos sobre la pieza grande tomando en cuenta que deben encajar los agujeros de los ojos.
🦋 STEP 2. We apply silicone to the back of the small piece of the mask, that is, the silver frosted cardboard piece, and glue it on the large piece, taking into account that the eye holes should fit.
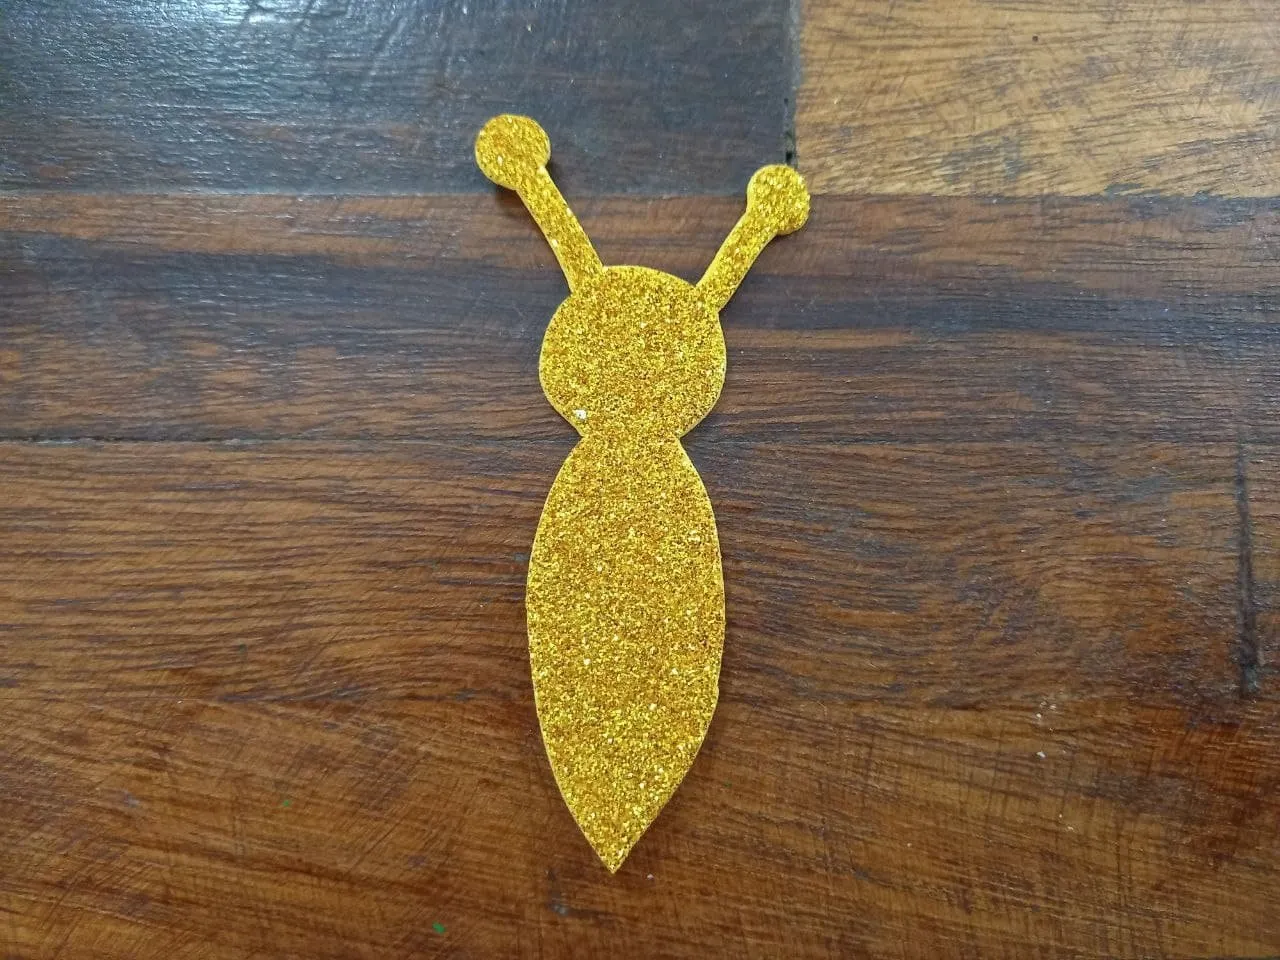
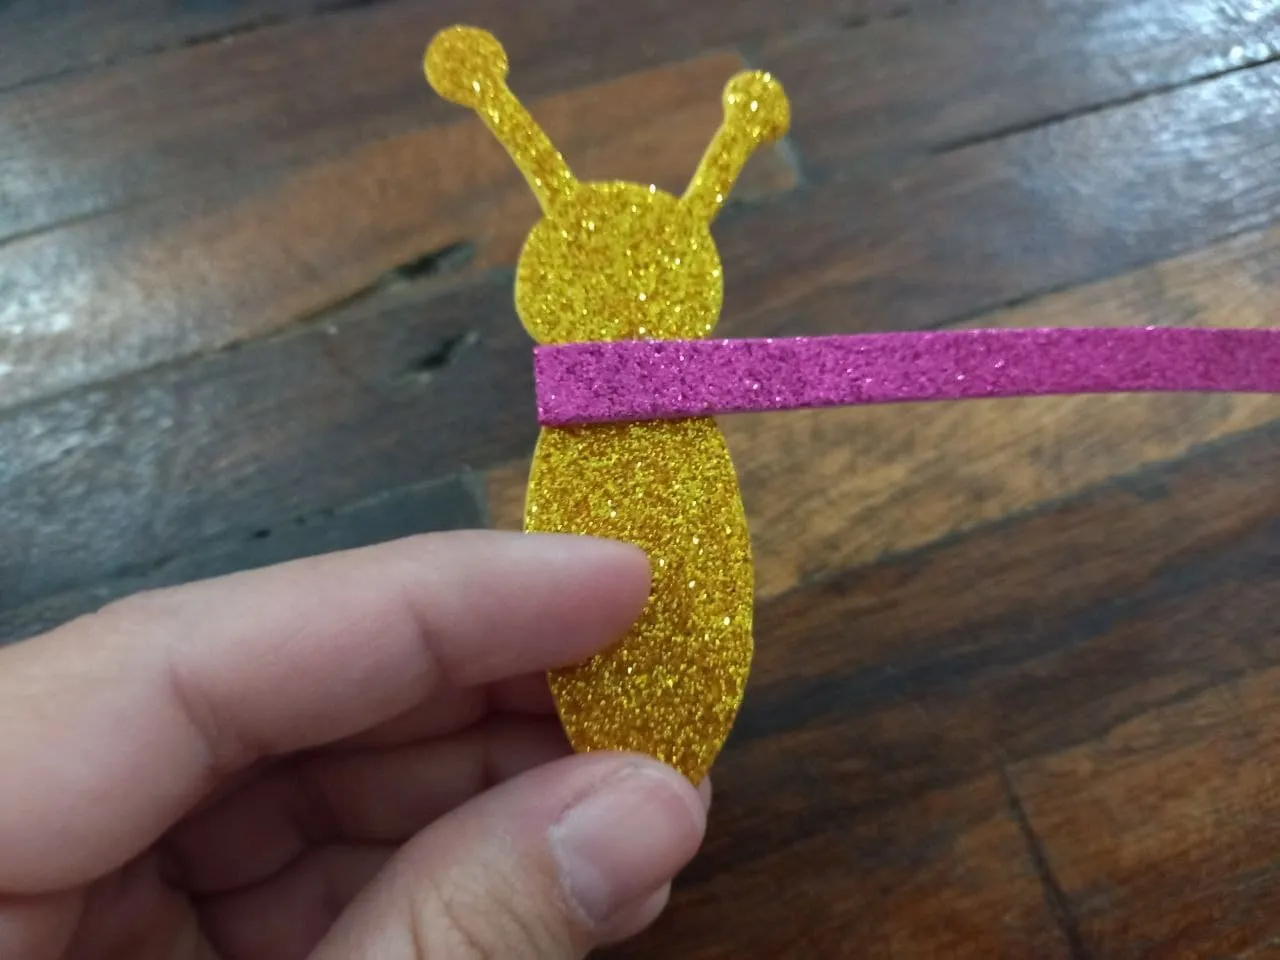
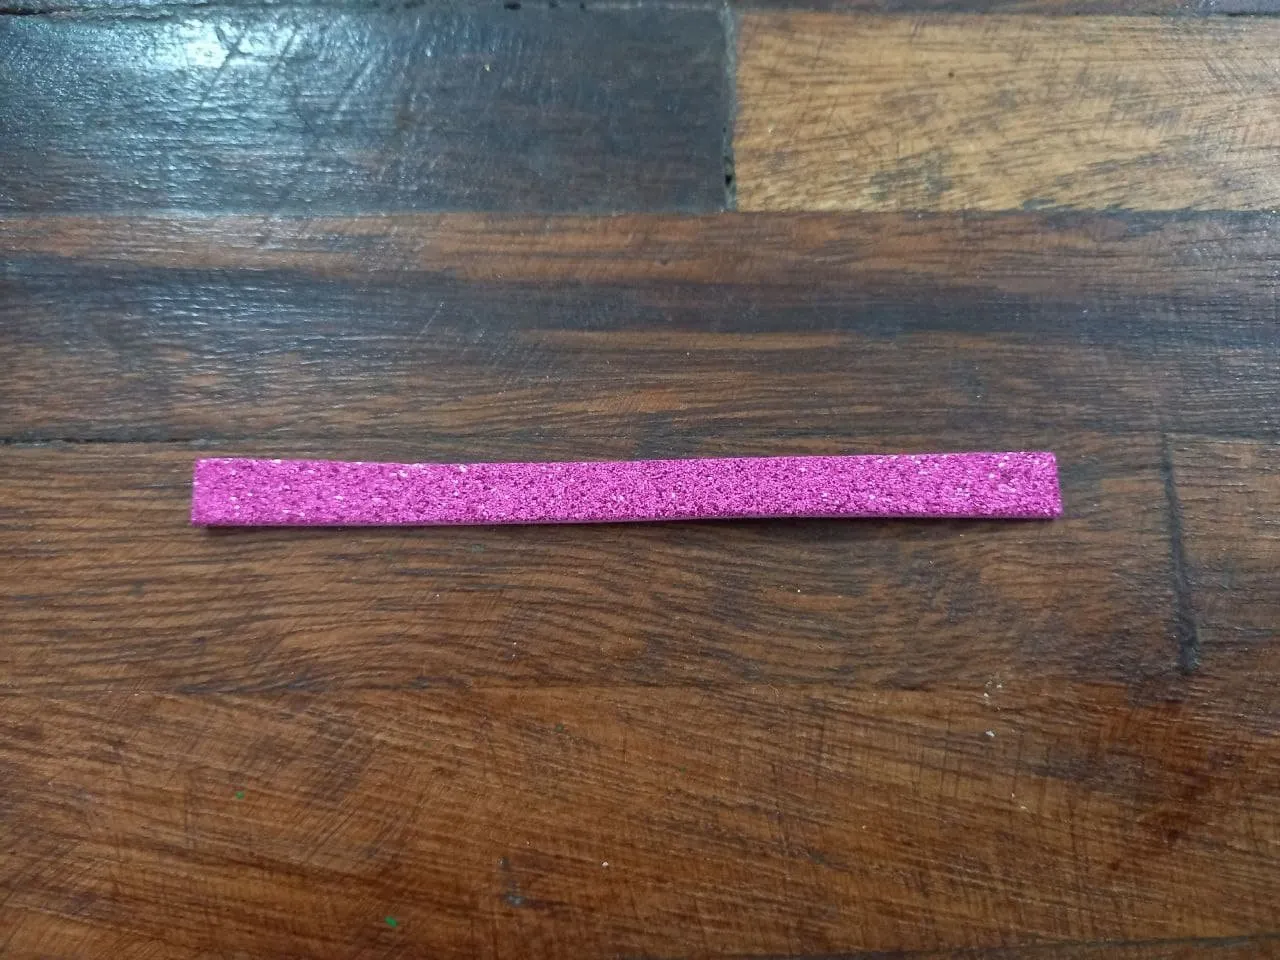
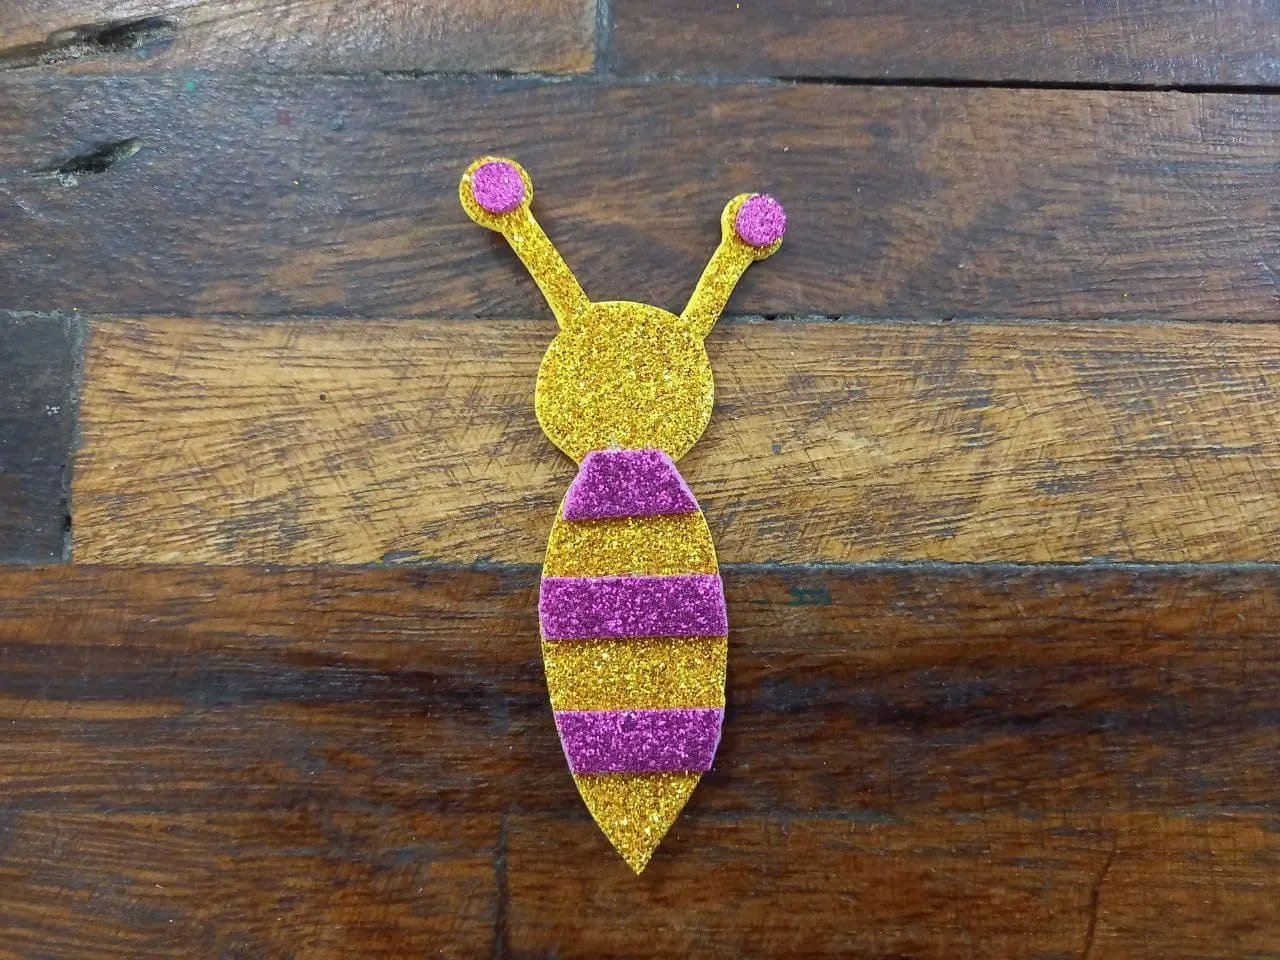
🦋 PASO 3. Hacemos el cuerpo de la mariposa en el foami escarchado dorado y recortamos, también recortamos una tira delgada de foami escarchado rosado y la pegamos de manera horizontal sobre el cuerpo de la mariposa dejando una pequeña separación entre cada una, con el abre huecos hacemos 2 círculos de foami escarchado rosado y los pegamos en las puntas de las antenitas de la mariposa.
🦋 STEP 3. We make the body of the butterfly in the gold frosted foami and cut it, we also cut a thin strip of pink frosted foami and stick it horizontally on the body of the butterfly leaving a small separation between each one , with the hole opener we make 2 circles of pink frosted foami and stick them on the tips of the butterfly antennas.
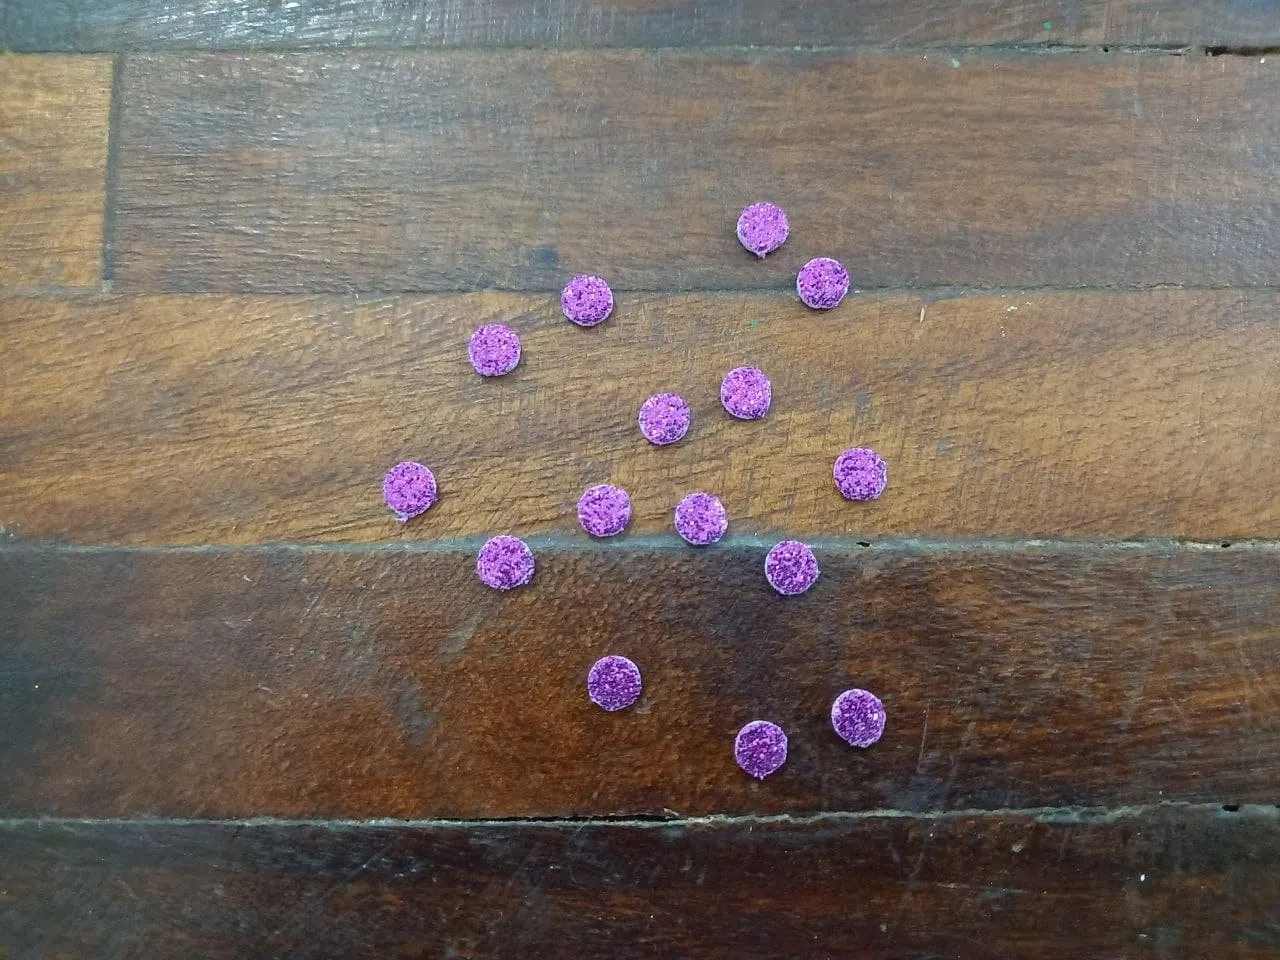
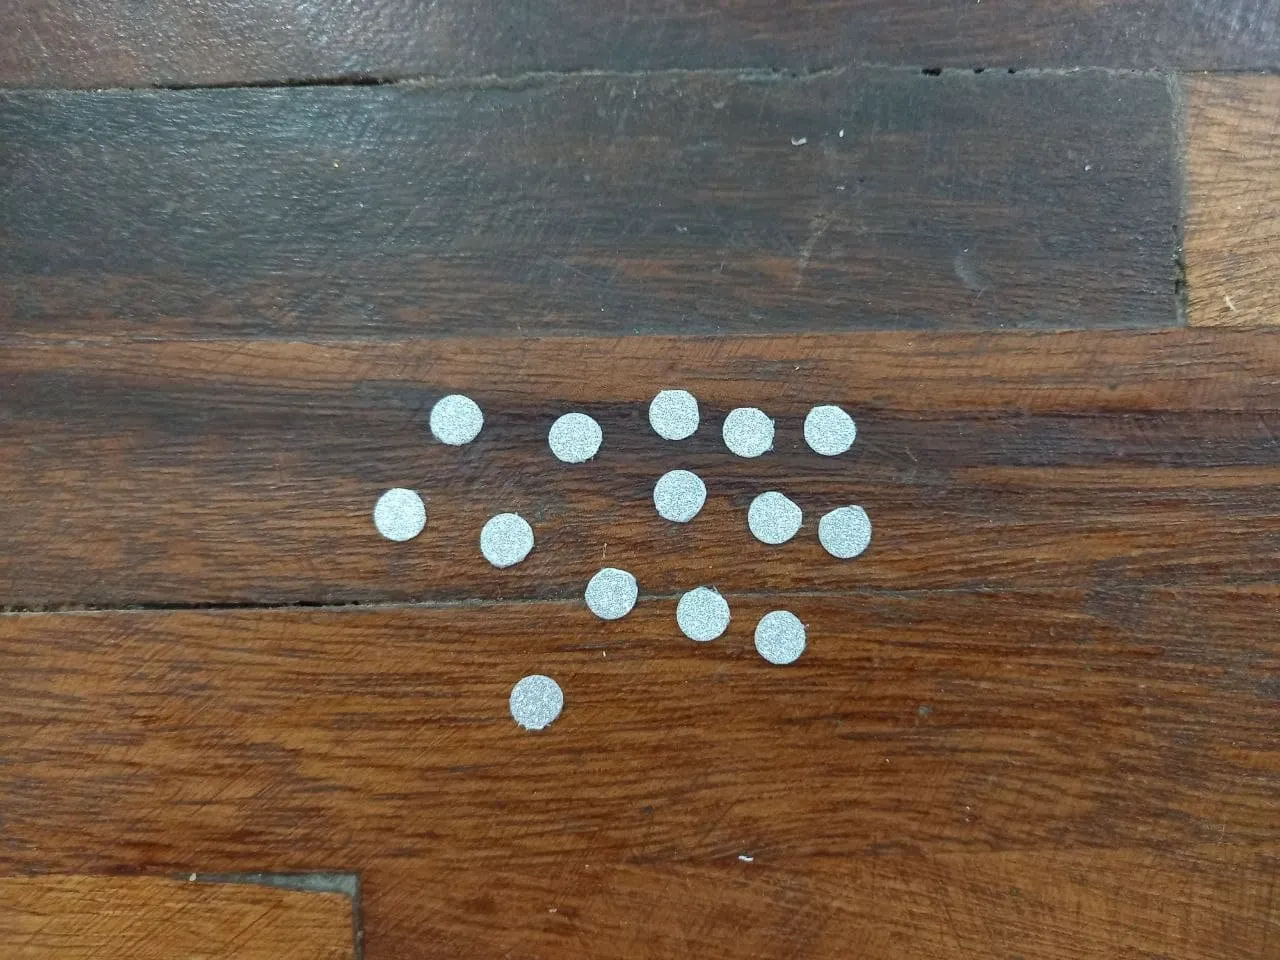
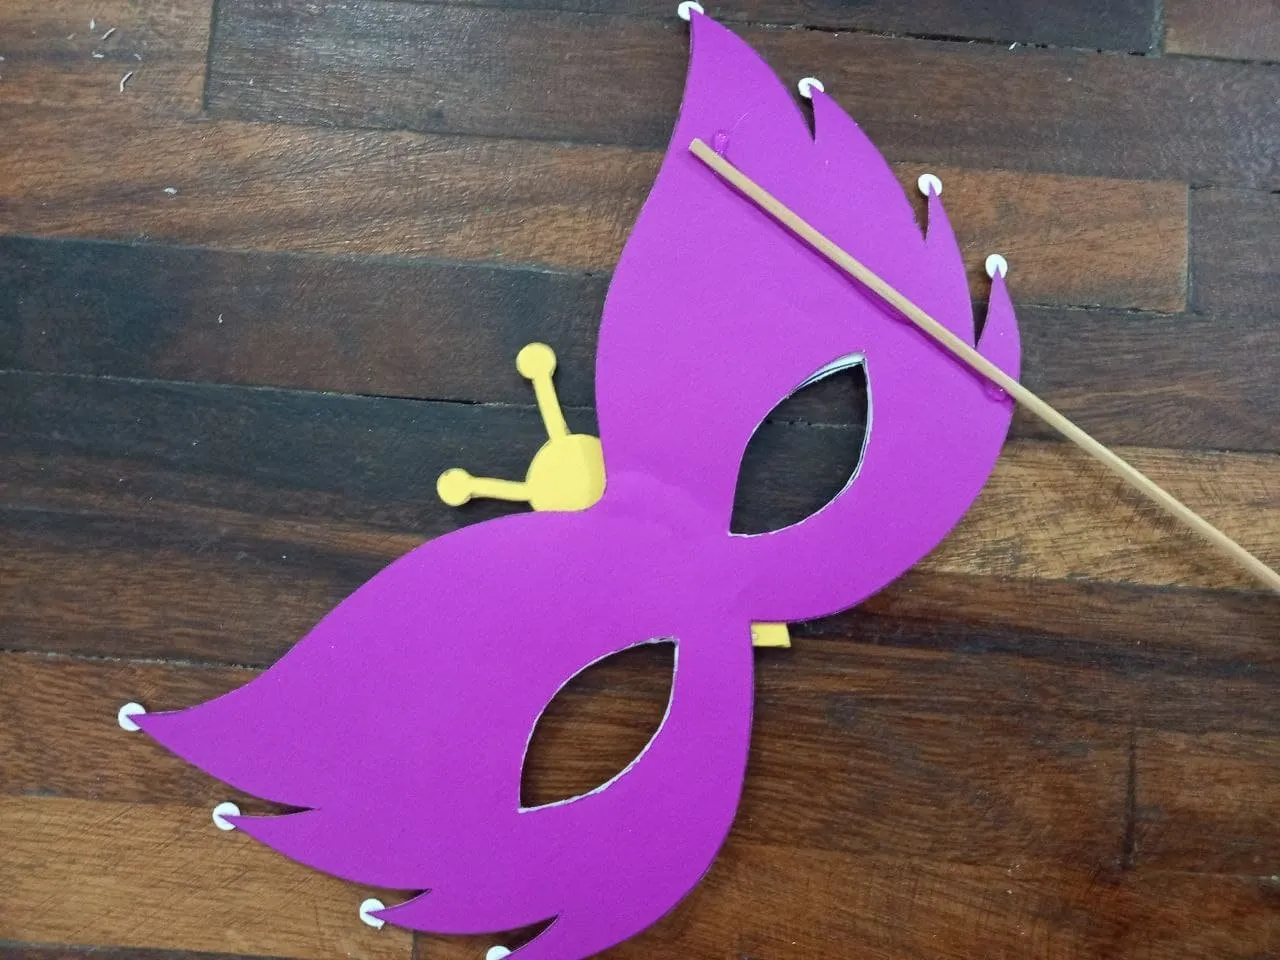
🦋 PASO 4. Pegamos el cuerpo de la mariposa sobre el antifaz, justo en el centro y decoramos este a nuestro gusto, en mi caso yo hare varios círculos de foami escarchado morado con ayuda del abre huecos y los pegaré alrededor de los agujeros de los ojos, luego haré unos círculos de cartulina escarchada plateada y los pegaré en las puntas que tiene el antifaz, para finalizar aplicamos una línea de silicón el su parte trasera a uno de los lados, el de nuestra preferencia y sobre esta pegamos el palito de altura.
🦋 STEP 4. We paste the body of the butterfly on the mask, right in the center and decorate it to our liking, in my case I will make several circles of purple frosted foami with the help of the hole opener and I will paste them around the holes of the eyes, then I will make some circles of silver frosted cardboard and I will paste them on the ends of the mask, to finish we apply a line of silicone on its back to one of the sides, the one of our preference and on this we paste the height stick.
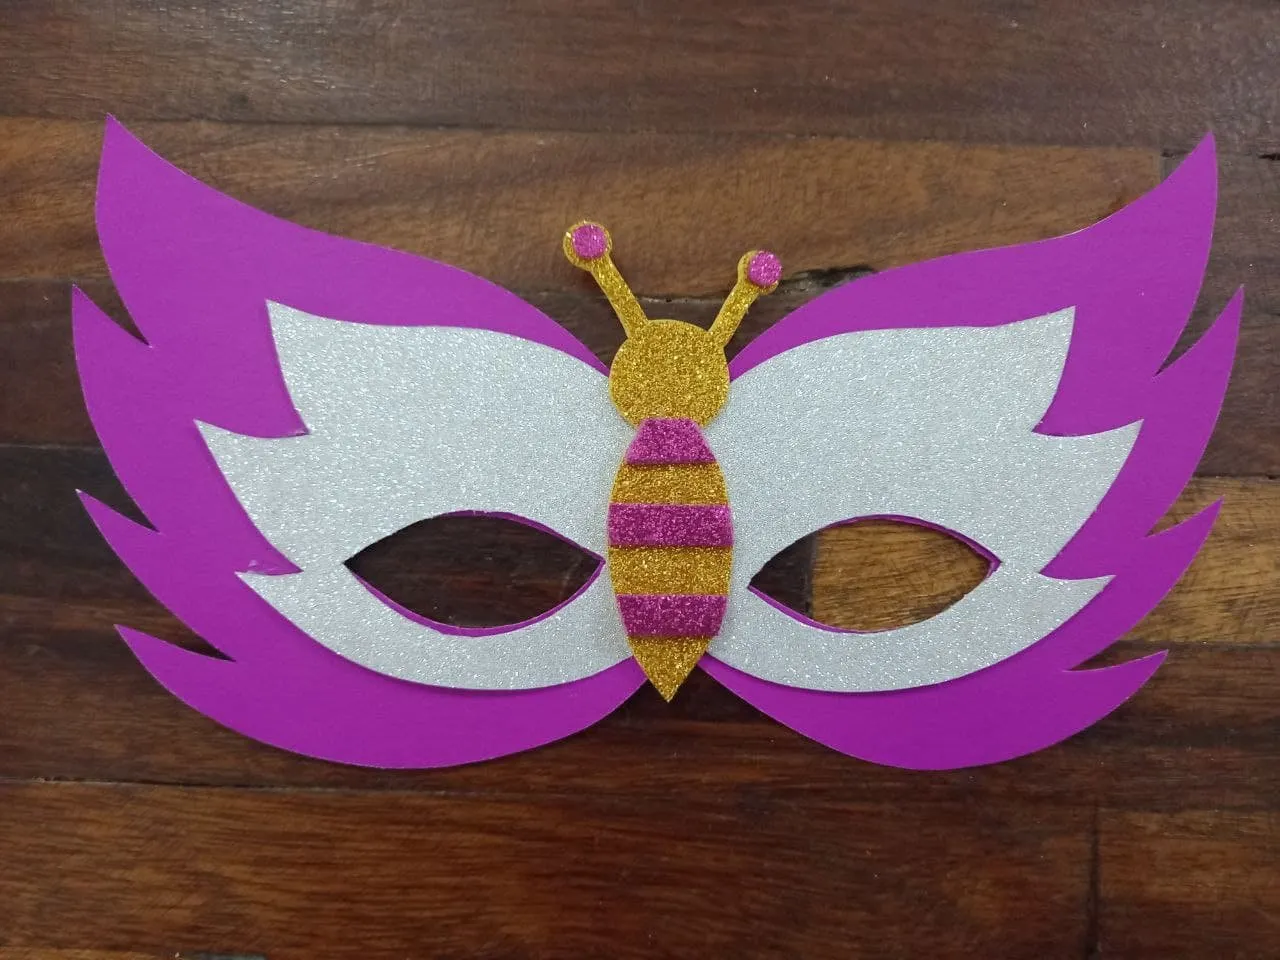
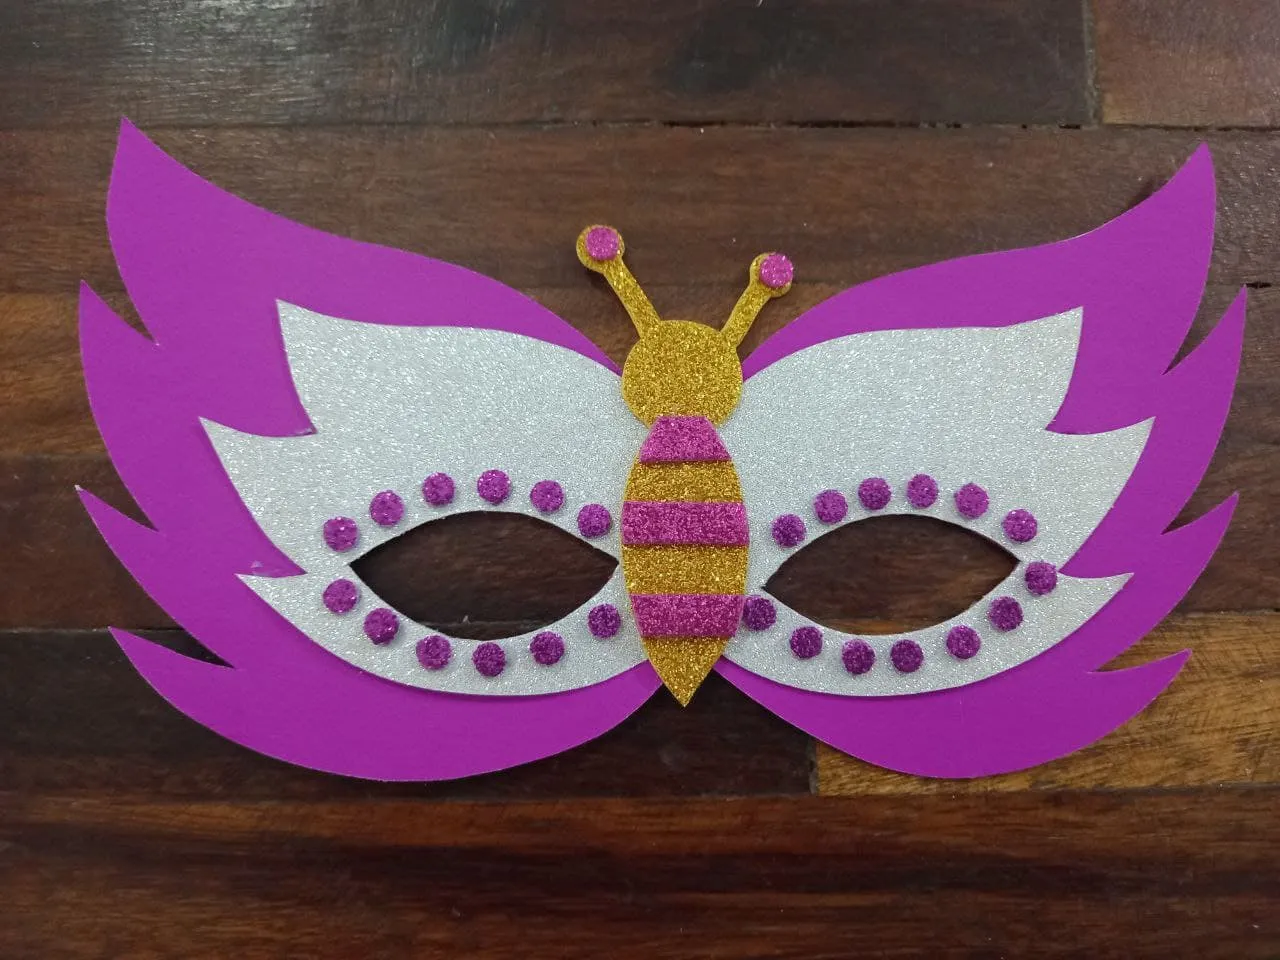
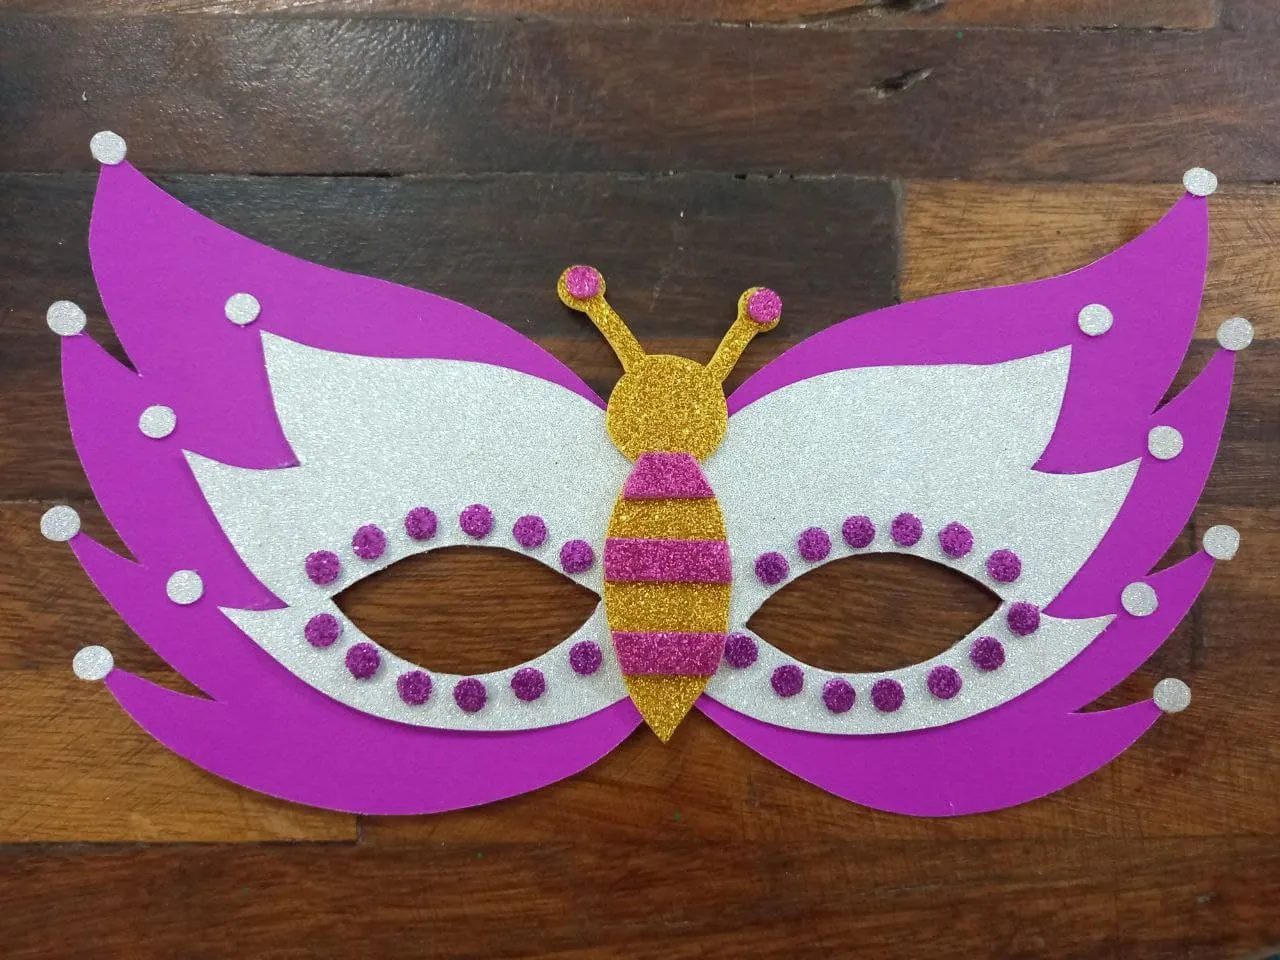
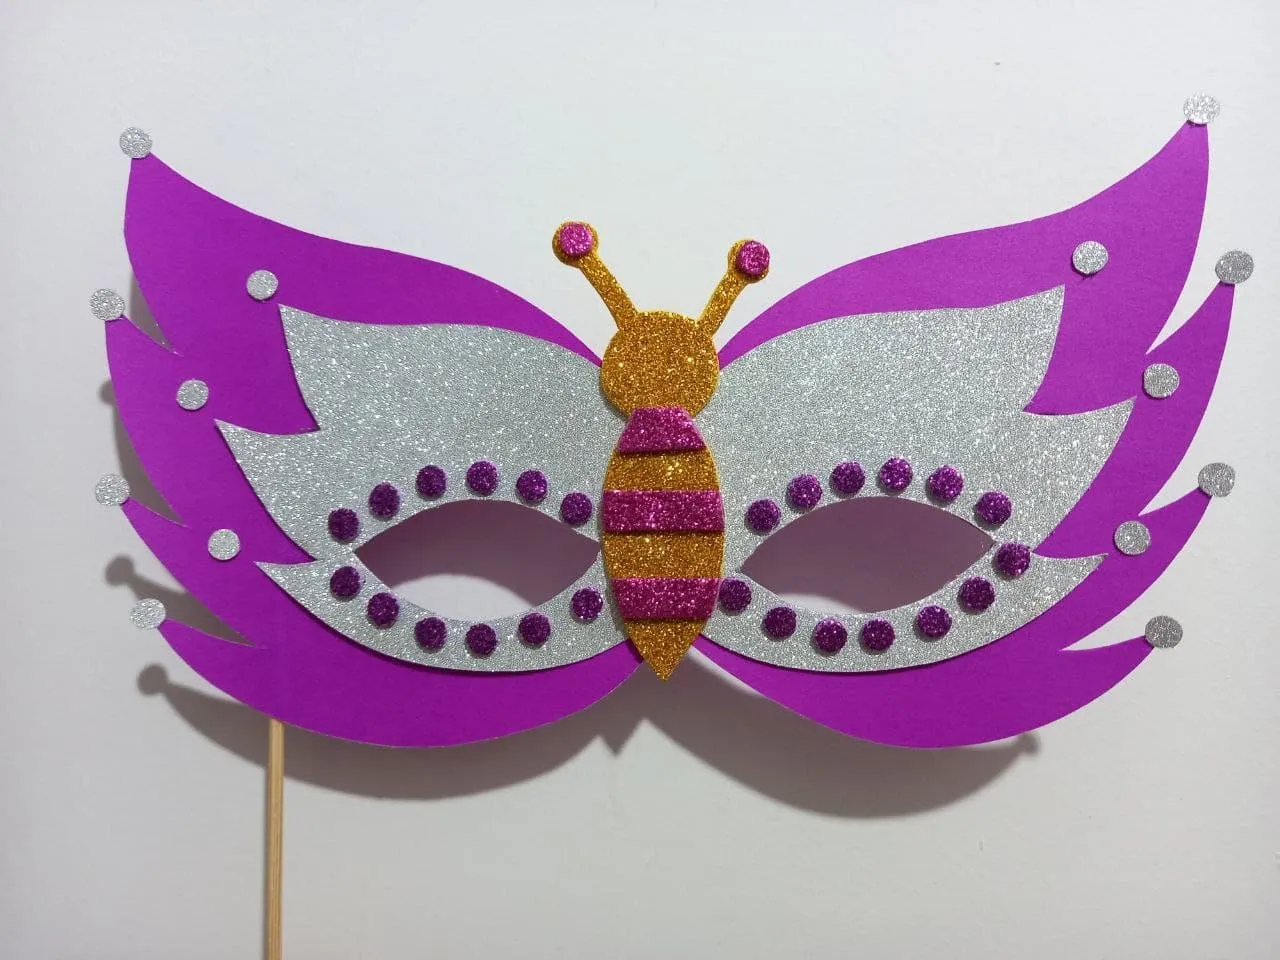
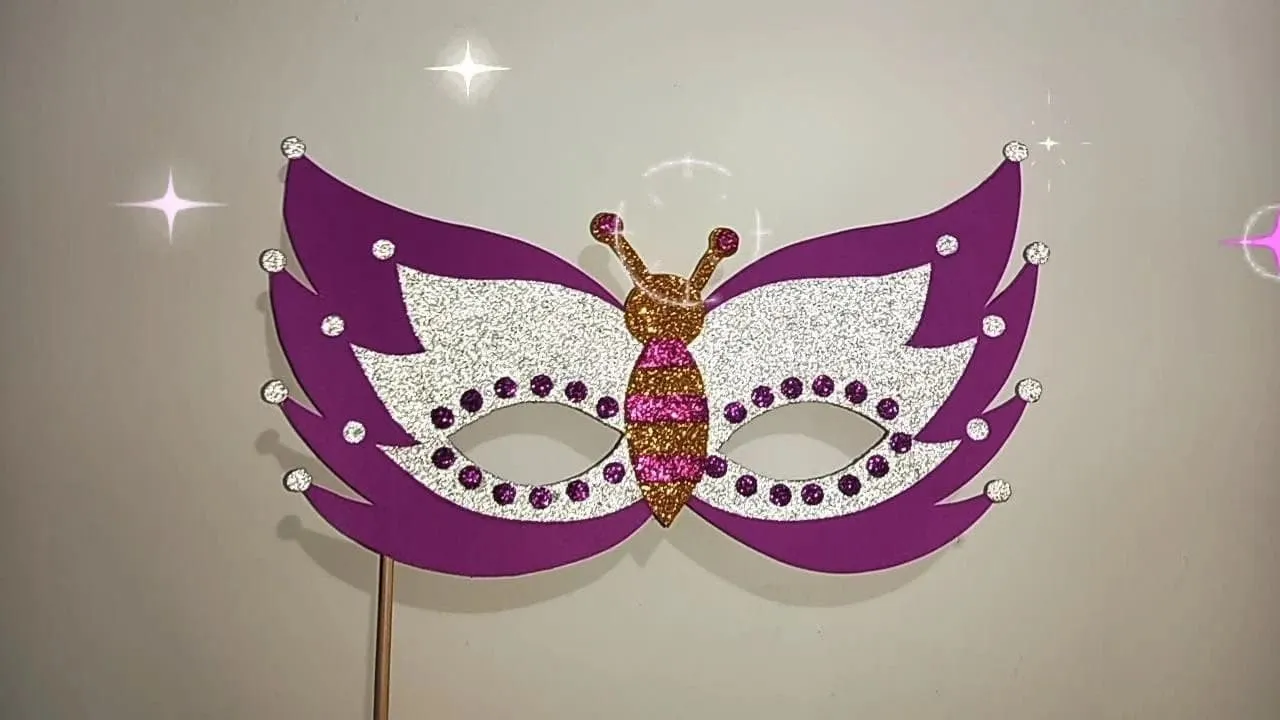
¡Y listo! De esta manera tan sencilla tenemos un hermoso y colorido antifaz en forma de mariposa para utilizar en la festividad de carnaval, es muy linda y perfecta para esas personas que les gusta usar algo en carnaval y no precisamente un disfraz completo, en lugar del palito de altura podemos colocarle elástica o simplemente no colocarle nada y pegarla a la pared para decorar, de la manera que se use queda muy bien y sirve perfectamente, espero que les haya gustado este tutorial, nos vemos en un siguiente post con una nueva idea creativa.
¡And ready! In this simple way we have a beautiful and colorful mask in the shape of a butterfly to use in the carnival festivity, it is very nice and perfect for those people who like to wear something in carnival and not exactly a complete costume, instead of the stick of height we can put elastic on it or simply not put anything on it and stick it to the wall to decorate, however it is used it looks great and works perfectly, I hope you liked this tutorial, see you in a next post with a new creative idea.
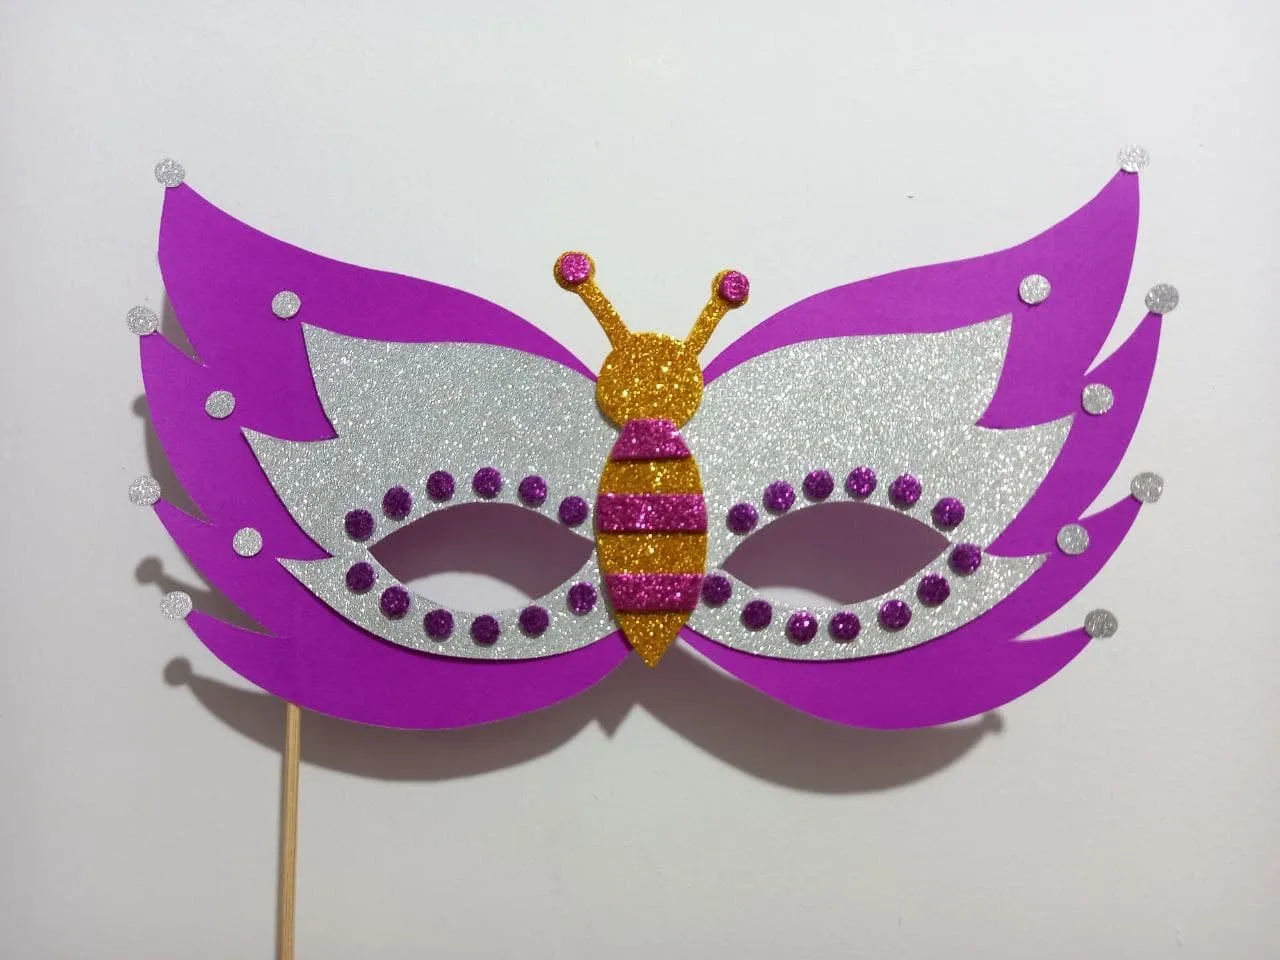
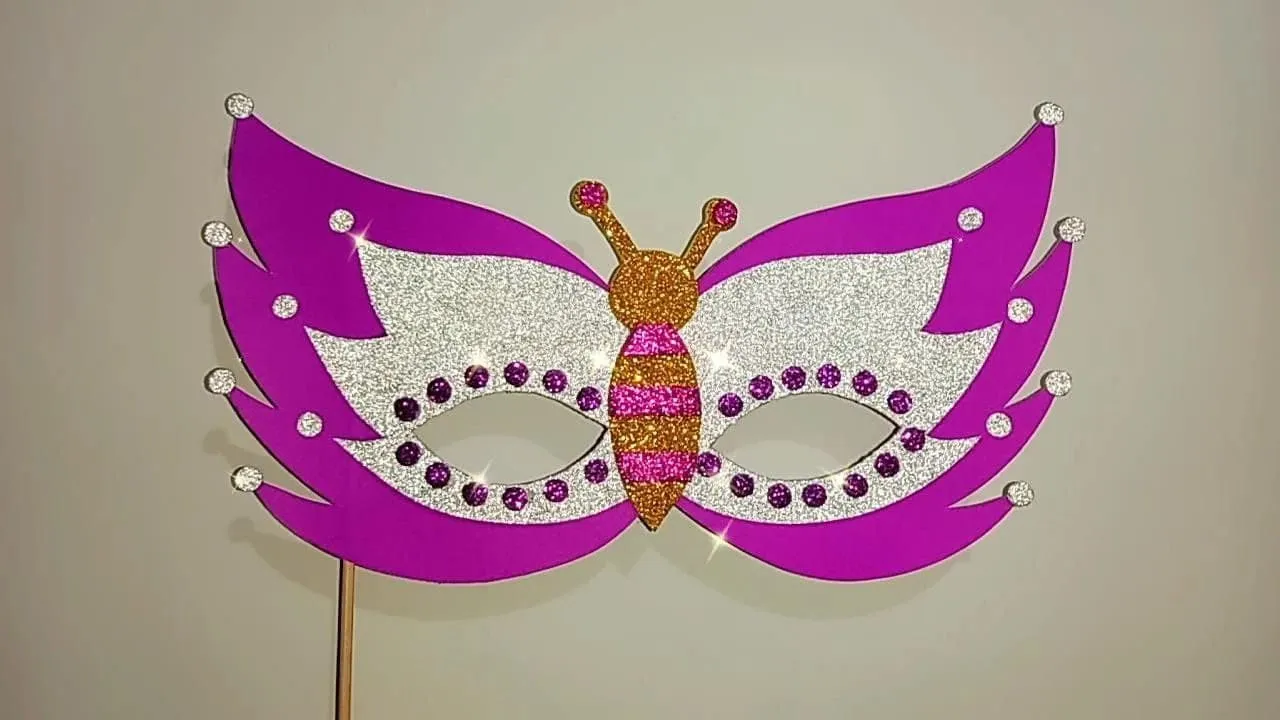
Resultado 🦋 | Result 🦋


Todas las fotografías son de mi propiedad.
Fotografías capturadas con mi Samsung Galaxy A12
Separador de texto elaborado en Canva.
Nos vemos en mi próxima publicación.
¡Tengan un feliz día!
All photographs are my property.
Photos captured with my Samsung Galaxy A12
Text separator made in Canva.
See you in my next post.
¡Have a happy day!